How To Change A Tap Washer?
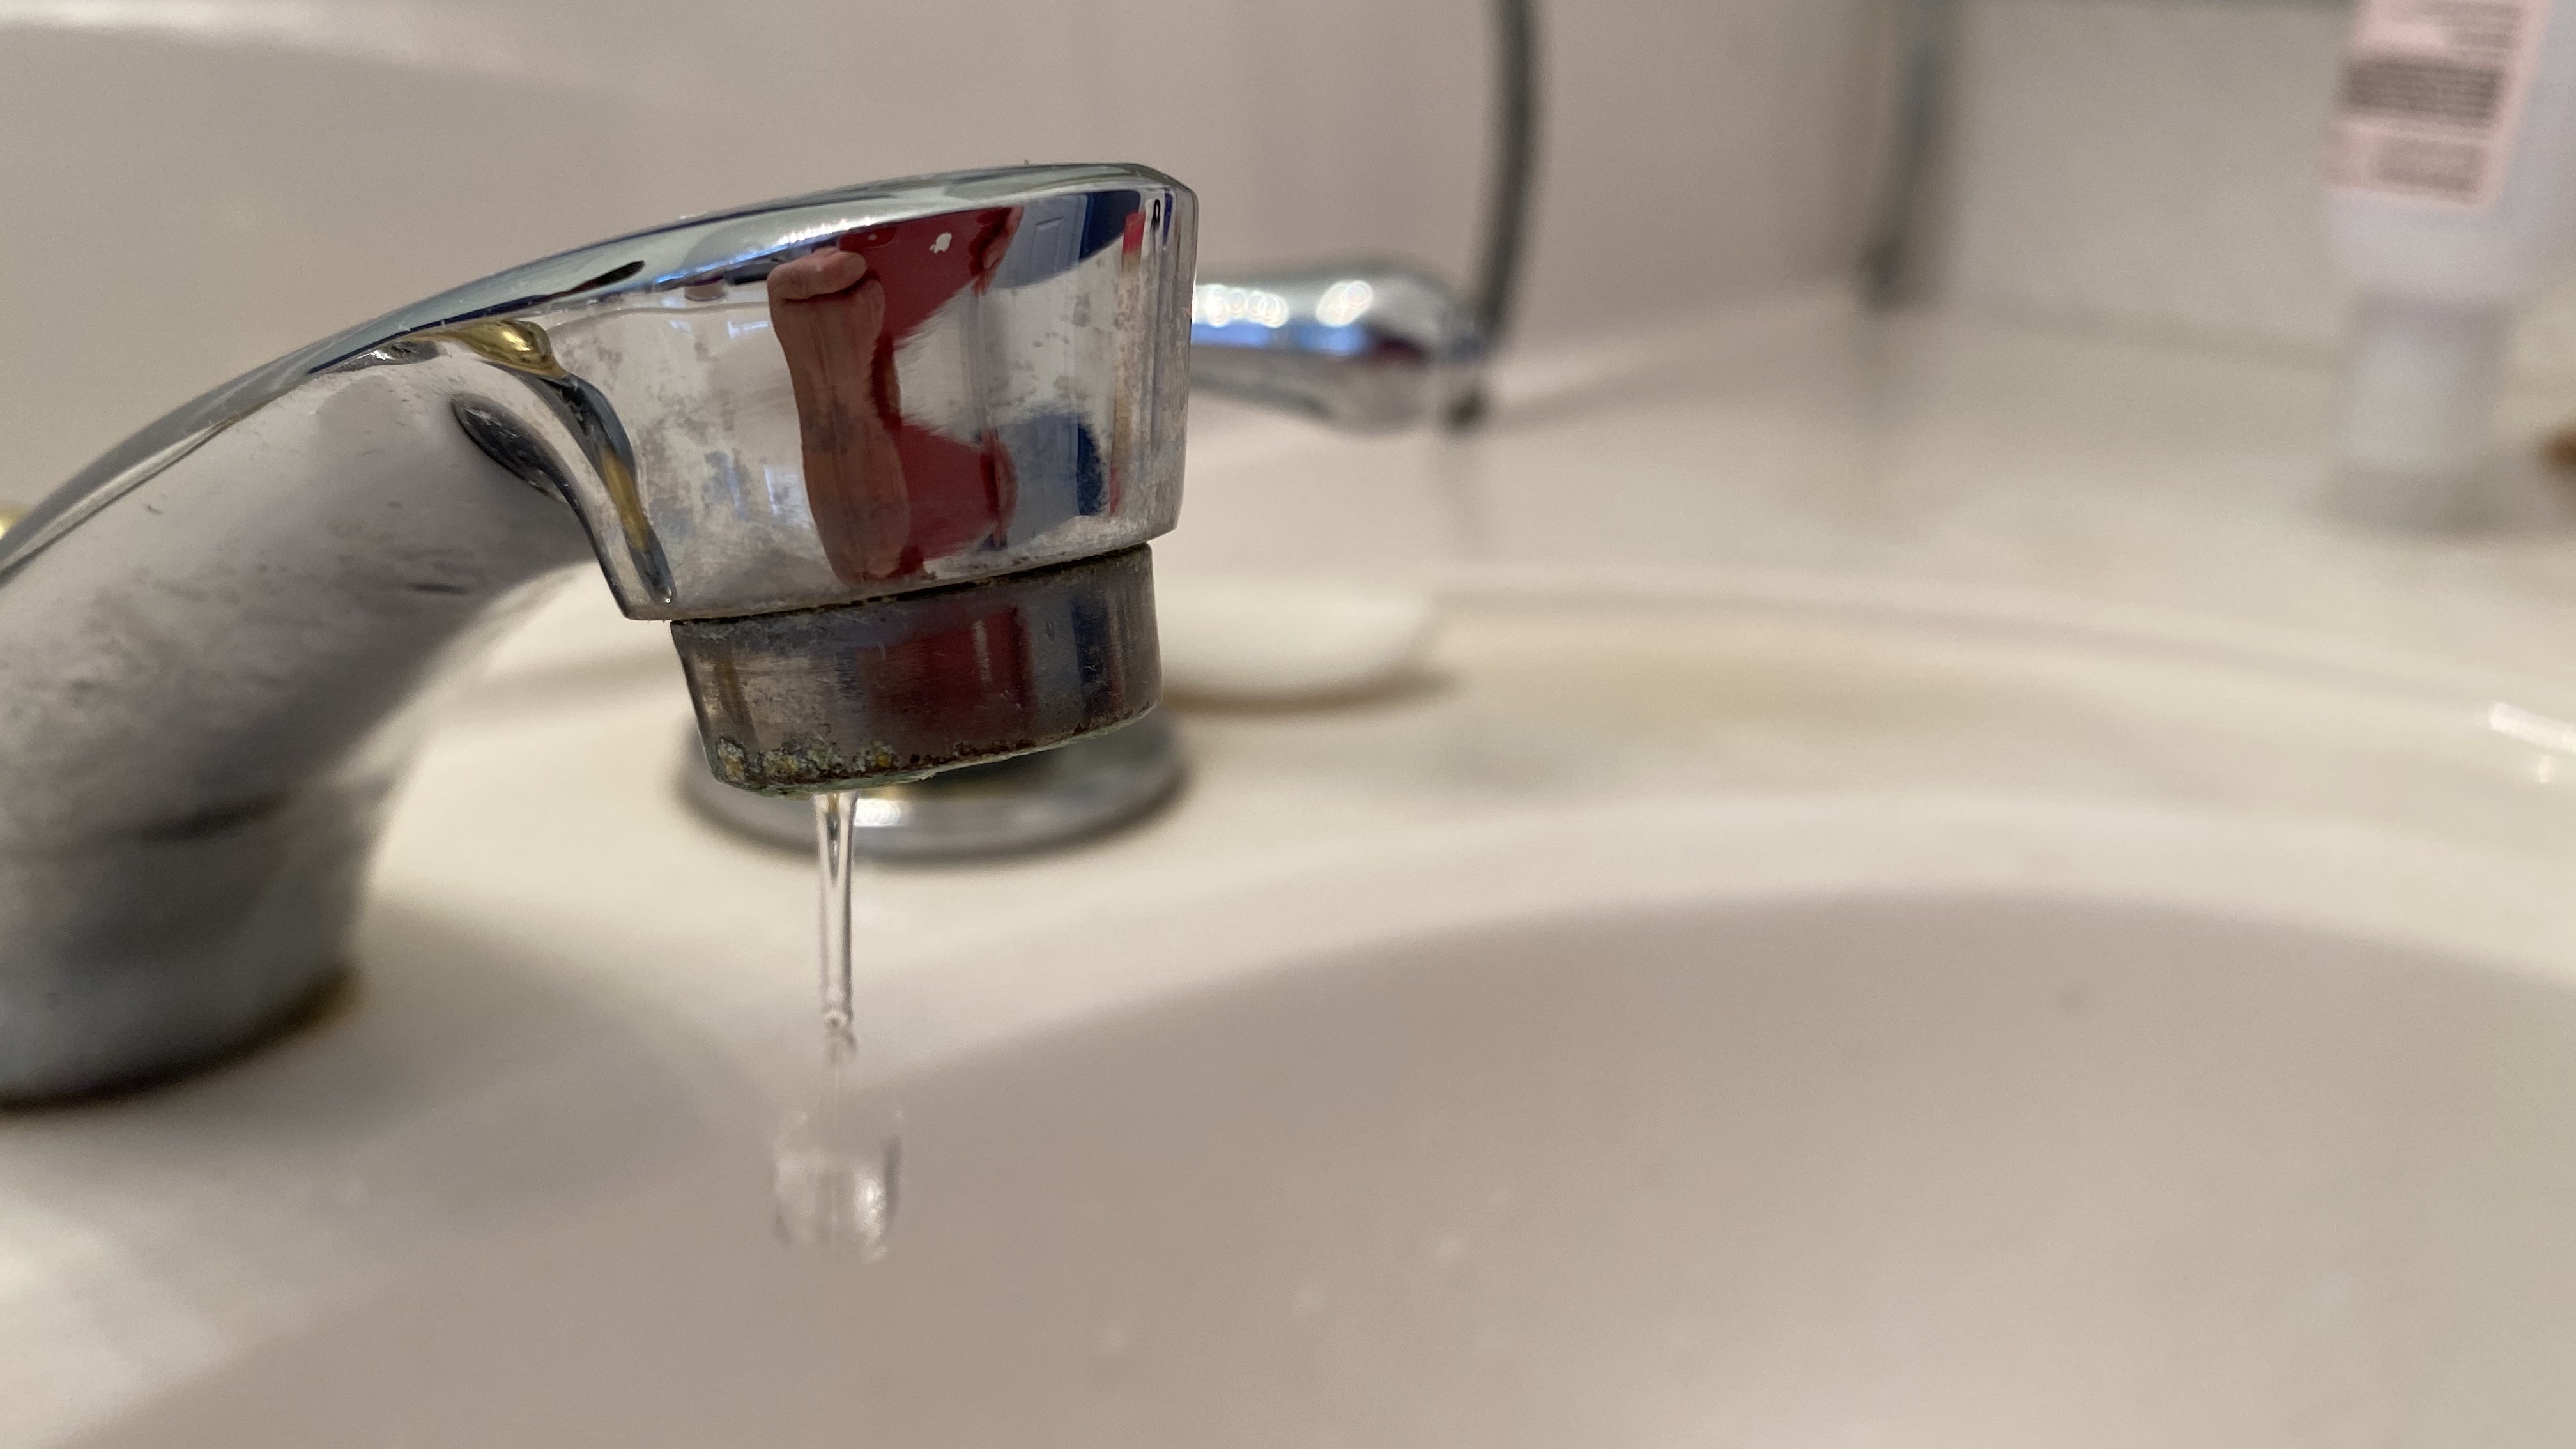
What’s more annoying than a dripping tap in your home? Not only does it make noise, which can bother residents, but it also wastes water and increases the water bill. Fortunately, most leaky faucet repairs are relatively simple, and even an amateur homeowner can complete the task. The most common tap washer comes with a small rubber or neoprene disc that prevents water from running incessantly when the tap is turned to its off position.
In this definitive guide, you will find out how to change a tap washer, whether the tap in question is a mixer tap with the old screw-down disc mechanism or a new-fangled ceramic disc cartridge. Additionally, you’ll be capable of overcoming this typical plumbing problem instead of merely calling in a professional for a fix that shouldn’t take much more than five minutes in the first place to bring your tap back to its optimal dripping-free state.
The TAP architecture is a conceptual framework or model that explains the different parts or "components" of the TAP approach. This model shows how these components are organised and related to each other to communicate a clear understanding of how the TAP approach works.
The key point is that the TAP architecture provides a structured way to understand the individual elements of the TAP approach and how they fit together, based on their relative positioning and usage within the overall model or framework.
For one to replace the tap washer, it is crucial to make sure that he or she has a basic understanding of the structure of the average home tap. The three main parts are:
- Tap Washer – It is the part of the tap that seals water during the time that the handle of the tap is tightened. It has a rubber washer that gradually gets worn out and develops cracks, hence allowing the tap to drip.
- Tap Seat – This refers to the surface to which the washer closes in opposition. If the seating surface of the tap is pitted or broken, it may have to be smoothened or replaced to facilitate the seal.
- Ceramic Disc Cartridge – It is found in relatively newer taps; it houses the washer as well as the other inner parts. Usually, when it is broken it is not enough to only replace the washer; rather the entire unit is replaced.
One of the main factors that lead to changing the tap is that when the washer starts wearing, it loses moisture and gets juts, splits, or distorts and may not create a sufficient seal when the tap is shut. This enables water to drip through continuously, and this is why you get that annoying dripping sound.
It is important that one changes them since used washers do not only result in the production of annoying sounds but also result in the wastage of water, hence leading to the increase of consequent water bills. Most of the time, a leaking faucet may waste hundreds of litres of water within a month and will put more pressure on your pocket and the environment.
One of the common problems with the tap is that it starts to drip, but the solution to this can be done by replacing the tap washer. If you have a worn washer, then placing a new one will get rid of the dripping and enhance the efficiency and functionality of your tap thereby saving you money in the long run.
Now that you understand the importance of changing a tap washer and the key components involved, let's walk through the step-by-step process:
1. Isolate the Water Supply
The first step that needs to be undertaken is to open the faucet that supplies water and then switch off the water supply. Find out the opening valve or main shut-off cocks for that specific tap and tighten the cock clockwise to the off position. It will stop the flow of water and, therefore, make the repair process safer and faster.
2. Remove the Tap Handle
The second step is to unscrew the tap handle. Gently unscrew any trimmings or caps present on the handle by using a flathead screwdriver. Then, untwist the screwdriver until the screw that is holding the handle gets disengaged from the appliance. Doing this will enable you to lift the entire tap headgear assembly off the tap body completely.
3. Access the Tap Valve.
The third step is After removing the handle, you should now have access to the tap valve – that’s the part where the washer is located. With the help of an adjustable spanner, carefully undo the top nut from the tap body in a counterclockwise direction.
4. Removal of the old washer and the corresponding O-rings.
Once you have removed the tap valve, look closely for the old washer at the bottom part of the removed valve. With a small flathead screwdriver or pliers, carefully remove the worn washer. Also, be sure to remove any other O-rings that may exist on the valve, as they also should be replaced.
5. Check and Choose the Size of the New Washer.
The fifth step before installing the new washer is choosing its correct size, which could be done only after measuring the diameter of the old washer. Tap washers are available in several standard sizes, therefore having the exact measurement will enable you to find the correct size. To get the dimensions, you must use a tape measure or a calliper at least.
Once you have the measurement, make sure to purchase the correct tap washer with the suitable measurement that you need.
6. Replace the New Washer and the O-rings.
The sixth step, Now that you have the new washer with you, it is time to install the new item.
First, place a small quantity of silicone grease or plumber’s soap on the new washer. This will enable it to form a good compact as far as watertightness is concerned.
Then, the new washer is placed properly in the base of the tap valve to guarantee its proper alignment and position on a level surface. If during the process of disassembly of the device, you face some relieved O-rings, then they should also be replaced at this stage. It is recommended that a thin layer of lubricant be placed on the new O-rings to reduce friction before they are installed.
7. Reassemble the Tap.
The seventh step is that since the new washer and O-rings are now available, then it is time to reassemble the tap. Slowly place the tap valve back into the tap body then, tighten the tap valve with the adjuster spanner.
Next is to replace the tap handle while at the same time checking if the retaining screw’ is fastened tightly. Last but not least, if there were any decorative covers or caps removed earlier, they should be reinstalled back on to keep your tap washer having the same original look that you have always preferred.
8. Reopen the Supply of Water.
The eighth and final step is the restoration of the water supply. To open the water flow, turn the main stopcock or shut-off valve a quarter turn in the anticlockwise direction. Inspect the tap to ensure there are no leaks, and if there are then you need to tighten up the tap a little bit more till you ensure that there isn’t any leakage.
After the water is back to the tap, open and close the tap several times through the cycles just to make sure that everything runs right and to make sure that the seal is operating properly and as it should.
Tips & Considerations
While changing a tap washer is a relatively straightforward task, there are a few additional tips and considerations to keep in mind:
Tap Seat Condition - If the tap seat where the washer comes in contact is broken and rough or pitted it may require using a tap reseater tool. This is to ensure that the new washer has the best seal with the least possibility of leaks.
Replacing the O-rings- In addition to the washer, any O-rings that look like they should be replaced need to be replaced at the same time during the disassembling process. Such seals are made of rubber and can also wear out with time and develop leaks if not replaced.
Lubrication – Just in case you notice that the new washer and the O-rings are very stiff, then it will be proper that you apply some amount of silicone grease or plumber’s lubricant for ease of installation. This will in turn help in ensuring that the tap is sealed properly and that there shall be no irregular movement of the tap.
Ceramic Disc Cartridges – In the taps with ceramic disc cartridges, the entire cartridge unit is normally replaced instead of the washer only. This is a little more complicated, so you should check with the specific manufacturer’s manual or seek advice from a plumber in case you have this type of tap.
In conclusion, undertaking the changing of the tap washer is considered one of the simplest do-it-yourself repairs that can help you stop the dripping sounds that tend to be annoying after a while while at the same time helping you to cut down on your water bills considerably. It’s beneficial to read through this article as it will guide you on how you can replace the worn washer within a short time hence restoring the use of the tap.
Remember, one must always take the measurements of the old washer, change the worn-out O-rings, and lubricate the parts to get better results. This means that with a basic understanding of plumbing, you will be able to resolve this common problem in your home and have a free-flowing tap for many years.
If you arrive at any stage in the process and you are in doubt or you are faced with some challenges, it is wise to enlist the services of a professional plumber. Their work can minimise the number of times the problem will be corrected by fixing it right the first time to avoid further damage to the plumbing system. Happy plumbing!