Bath Sealing: A Step-By-Step Guide.
Sealing a bath may appear to be a complicated activity; however, with the right equipment and a good deal of care, it can be a relatively easy ‘do it yourself’ task. In this guide, we explain the entire process step by step, whether it’s a new bath that you are installing or an existing one that you are reconditioning. So, pick up your tools, and we will go through the steps of sealing a bath.
Reasons Why There is a Need to Seal the Bath
First, we need to explain the reason why a bath seal is needed, then we can move on to discussing how to seal a bath. Let us first explain some reasoning as to why sealing a bath is necessary. A sealed bath creates a barrier that controls moisture levels in the walls and floors. Due to negligence, moisture may accumulate and eventually threaten the very relief that people are trying to achieve with the bath, i.e., relaxation. Water damage can cause mould growth, damage to structure, and costly repairs. It is advisable, therefore, to always perform proper bath sealing. This will enable you to maintain a barrier that keeps water away from your bathroom and house as a whole.
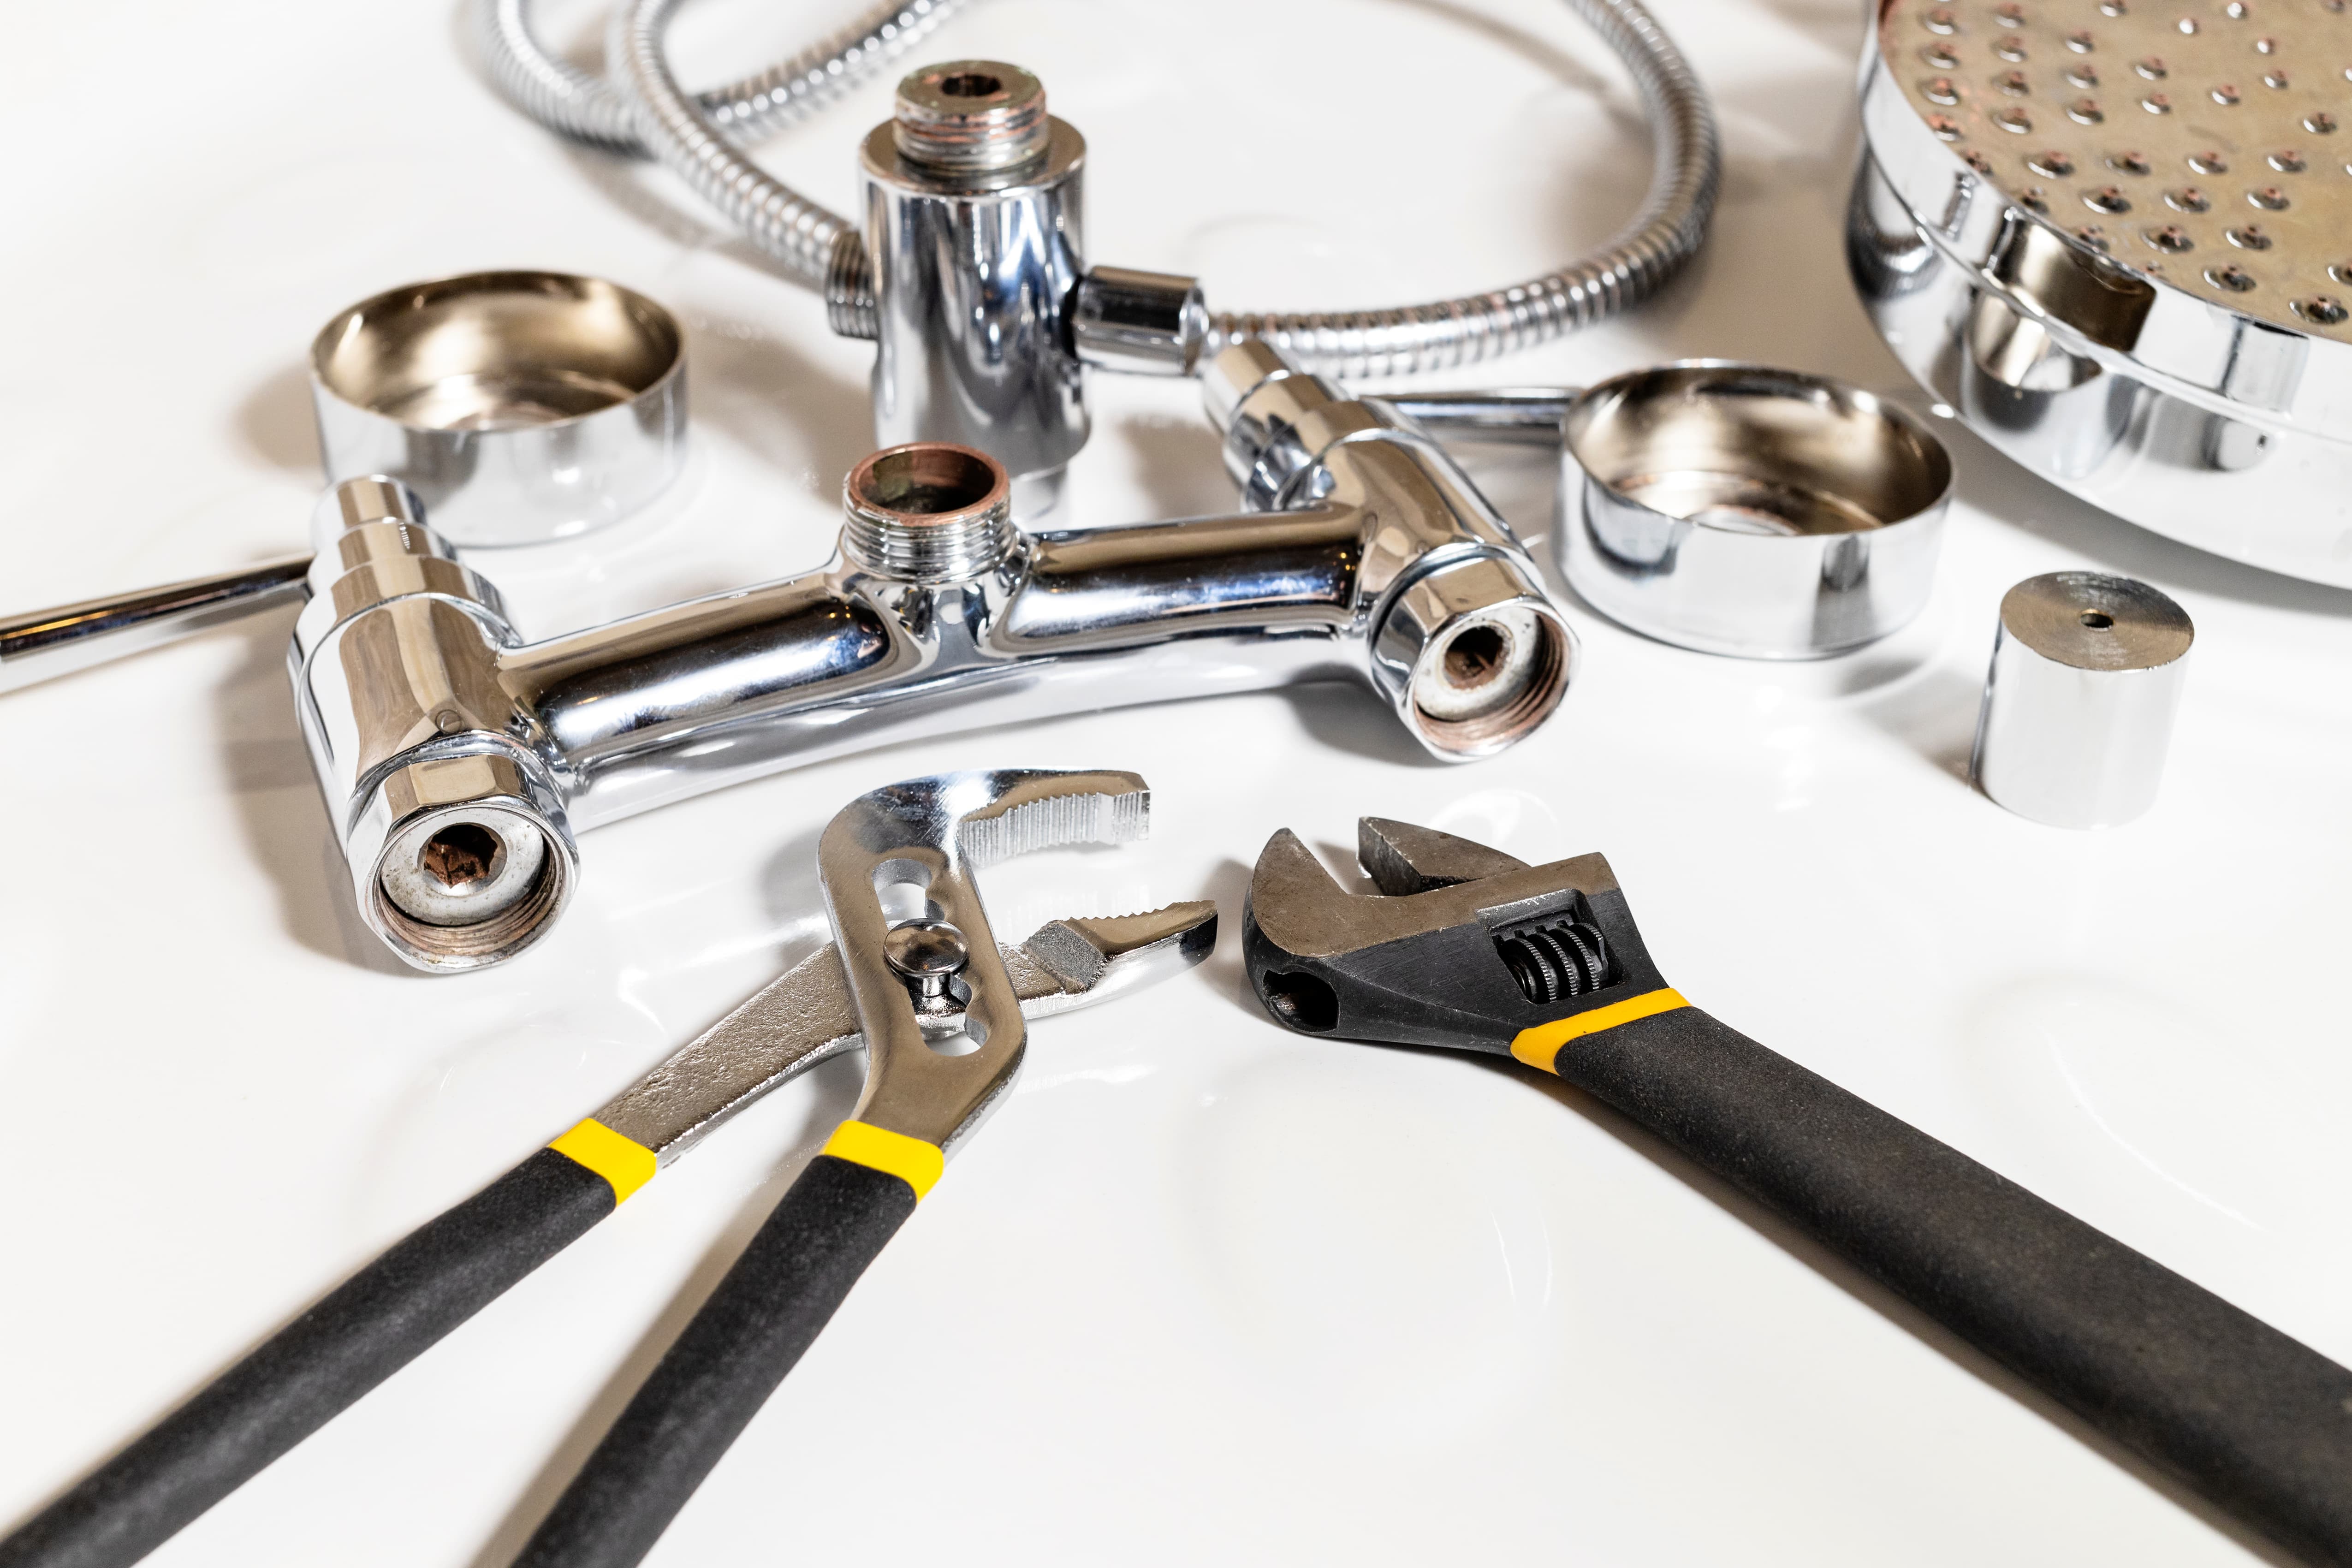
Tools and Materials You’ll Need
To seal a bath, the following tools and materials are required:
- Bathe Silicone Sealant
- Caulking Gun
- Utility Knife
- Masking tape
- Paper towels
- Sealant smoother tool (optional)
- White Spirit (for cleaning)
Step-by-step Instructions on How to Seal a Bath.
1. Take Off the Old Sealant.
When resealing an already existing bath, the very first thing you shall be required to do is to take out the old sealant. With the help of a utility knife or a sealant remover tool, get rid of the older sealant. Be careful not to damage the bath or the tiles during this process. If you have stripped all the sealants but still have some residue, you can clean them with a cloth soaked in white spirit.
2. Clean the Area.
Make sure to thoroughly clean every part of the area that needs to be filled with the new sealant, including its inner circumference. It is also important to clean, regardless of whether it is a new or old bath—any dust, dirt, or grease. Use warm, soapy water and a cloth to clean the edges of the bath and the wall. Wait for the surface to be completely dry.
3. Use the Masking Tape.
Masking tape can be very useful in making sure that the end product is neat. Place it both above and below the area where you plan to apply the sealant. This will ensure proper lines and keep any spillage of the sealant onto the tiles or bath.
4. Fill the Bath With Water
Put water inside the bathtub before applying the sealant. This step adds weight to the bath so that when filled with water, the chances of the sealant cracking later are minimised. The water expansion will fill the opening between the bath and the wall a little, allowing the adhesive to fill the gap properly.
5. Prepare the Sealant.
Take a sealant cartridge and cut the tube's nozzle at a 45-degree angle. This angle is convenient to help prevent the sealant from spilling everywhere. Insert the tube into the caulking gun to begin sealing.
6. Embed the Seal.
From one corner of the bath, apply the sealant in an even fashion, starting from the corner to the last edge of the bath, and do so without stopping. Apply the sealant evenly without applying pressure on the caulking gun. Maintain a steady pace to simultaneously cover all surfaces, as a poor bead layout can lead to a shaky appearance.
7. Apply Sealant.
You can use your finger or a sealant smoother tool to make the sealant smooth after you've put it on. This step makes sure the sealant sticks well and makes a seal that keeps water out. Wet your finger a little before you use it so the sealer doesn't stick to it.
8. Remove the Masking Tape
Take off the masking tape slowly so that the glue doesn't dry. You'll end up with clean, straight lines. Be careful not to smudge the sealant.
9. Wait for the Sealant to Dry.
Follow the manufacturer's guidelines for how long to let the sealant dry. It takes about 24 hours most of the time. To make sure the sealer sets properly, don't use the bath during this time.
During drying time, please be sure no one uses the bath. It is mandatory to follow the instructions provided by the manufacturer for the duration of the drying process.
Why the Bath Should Be Sealed?
You need to know that the reason for sealing a bath is not only decorative but also necessary because this is the way that allows you to enjoy your bath for a longer time. Consider the following key reasons why sealing a bathtub is crucial:
- Water Ingress. Water steadily accumulates, and an excess of it can lead to breakdowns. Shower water leaks cannot cause as much trouble as over time water leaks and water moisture damage the internal walls of your house, which could potentially lead to structural damage.
- Preventing Mould and Mildew: The presence of humidity makes bathrooms a conducive place for the growth of fungi such as mould and mildew, which are potentially harmful to human health and the house itself. Furthermore, green patches are a sign of moisture content that, if left untreated, can lead to larger health problems. A proper seal prevents moisture from entering joints and expansion spaces, as well as promoting joint repair.
- Maintaining Aesthetic Appeal: A well-sealed bath creates the impression that it is free from any disorders. As time passes, old sealants on joints, or poorly applied new sealants, tend to become dirty and appear dull. Resealing your bath can make your bathroom look new and modern.
- Increasing Fixture Longevity: Water can damage fixtures and fittings in the bathroom. By providing a waterproof seal, you can enhance the durability of your bath and the areas around it.
The Impact of Sealing a Bath on Your Own.
Although you can contact an expert to seal your bath, there are benefits to doing it on your own:
Cost Savings: Typically, hiring an expert comes at a significant cost. By normal means, one does not incur any additional service fees since one is only responsible for material purchases.
Satisfaction of Accomplishment: Some people experience a sense of accomplishment after completing tasks that were previously challenging for them. You can achieve a great feeling of accomplishment if you seal your bath on your own.
Mastering a New Skill: It is through DIY that one can acquire a new skill. Securing your bath will give you the knowledge and skills to tackle other renovation projects.
Convenience: If you handle it yourself, you won't have to adhere to a specific time frame. There is no reason to wait until a specialist can squeeze you into their already full schedule.
Suggestions for Making Your Work Look Professional.
- Select the ِAppropriate Sealant: Use a dependable silicone sealant, such as general-purpose Mould: bathroom silicone thumb.
- Work in Clean Circumstances: Because this home improvement project uses strong sealants, the bathroom needs adequate ventilation.
- It May Take Several Attempts: If you have never sealed anything before, you may want to try doing that on a tiny surface first.
Typical Errors To Avoid.
- Omitting Cleaning: Failing to properly clean this area can result in the sealant failing to bond thoroughly.
- Bath Not Filled with Water: This may cause the sealing compound to break down when the bathtub is finally filled with water, leading the sealing compound to break down.
- Using an Excess of Sealant: A standard amount of counter sealant will look a little neater but may take longer to dry as it may appear too high.
How to Maintain Your Bath Seal?
To ensure the longevity of your bath seal, maintain a straight posture and inspect it almost every two weeks for any signs of cracks or mould. Use a mild bathroom cleaner to wash the sealant, but avoid using any tools that could scratch the surface. To prevent further moisture damage, you should also be prepared to quickly seal the area again if there are any cracks or gaps.
In summary, sealing any spacious room with a bath is one of the chores you must undertake after completing it. This practical guide will outline a series of steps you can follow to prevent water issues in your home. Consideration of all aspects leads to a well-executed or applied seal. Happy sealing!